
Drop handle bar mitts - Roadie Pogies
/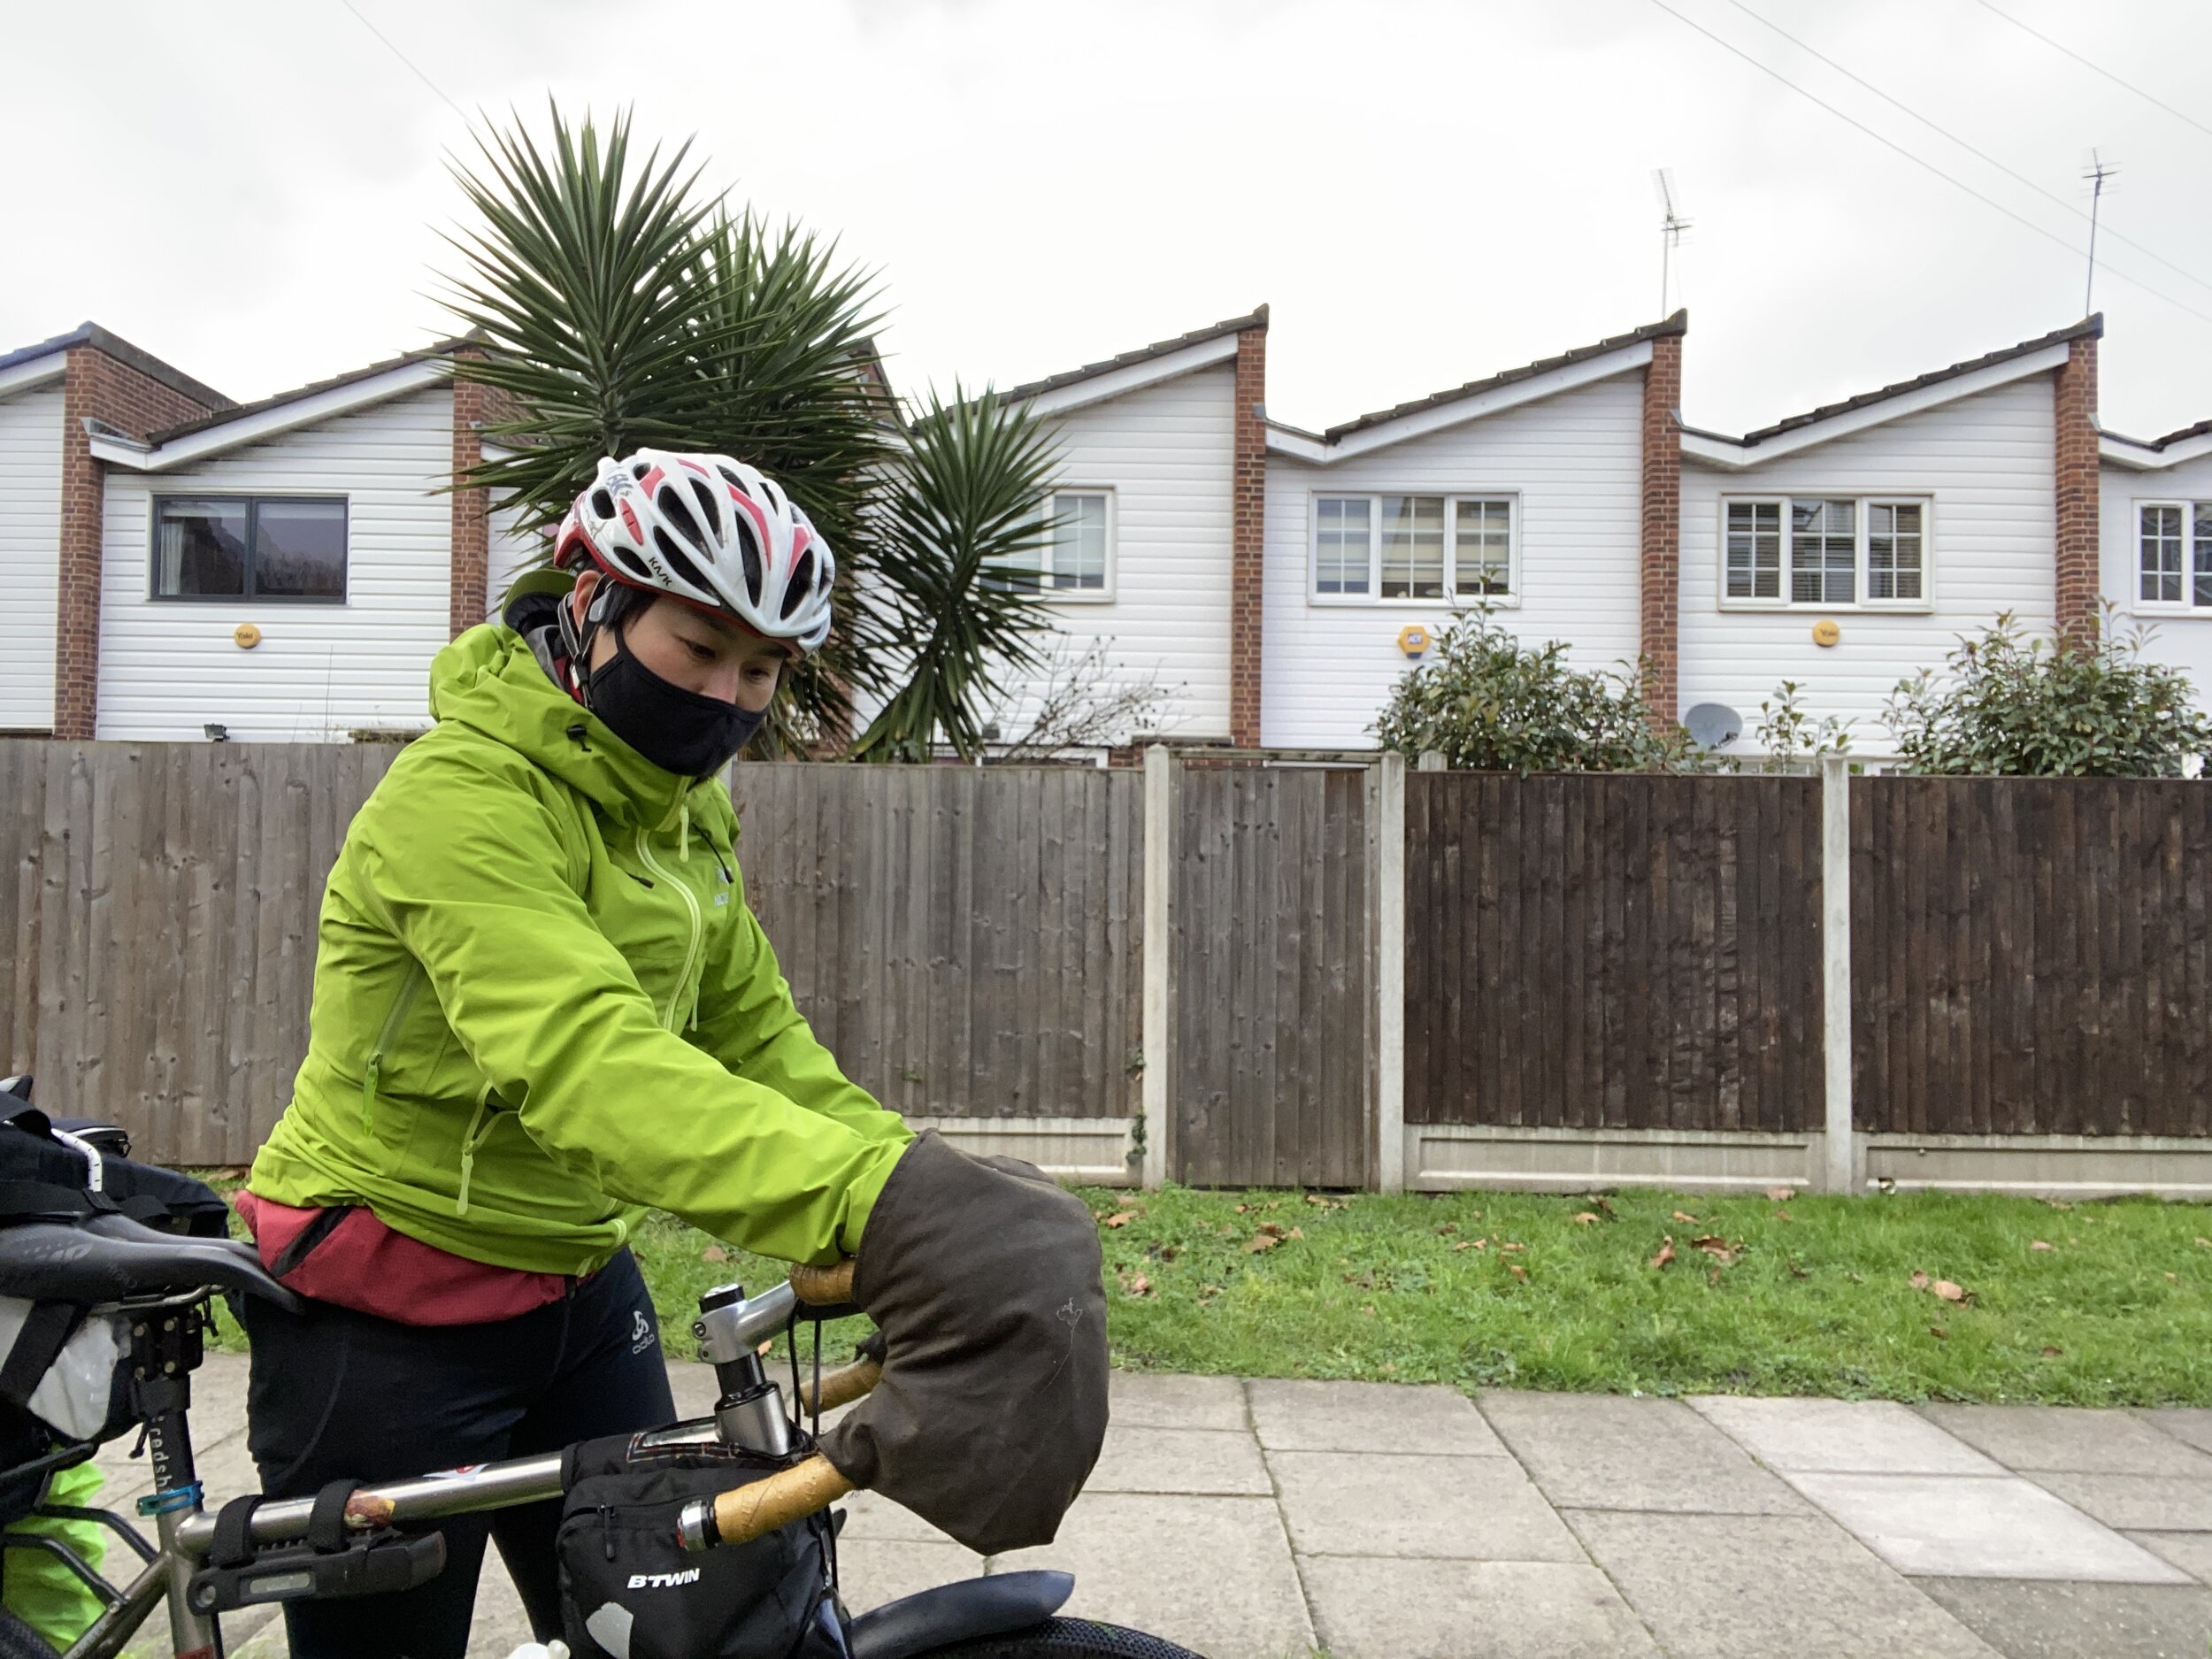
Roadie pogies test ride
Cold hands and freezing fingers? Yeah, me too… With wind chill effect on the bike in rainy and wintery weather, gloves just don’t cut it (trust me, in our household we have a library of gloves from silk liners to rubber lobster claws). I also have small hands (a size 7 in Marigolds), and braking became a game of 50/50 when wearing thick gloves. I kept seeing smug scooter drivers, rowers and kayakers with their hands nesting snugly inside those things called pogies, but Google search came back with very little available (and all sold out!) for drop handle bars… (Pan to dusty beginner’s sewing machine in the corner.) How hard can it be? I did do sewing at school after all…(in 1995)
So, this is how I made these Roadie Pogies V1.
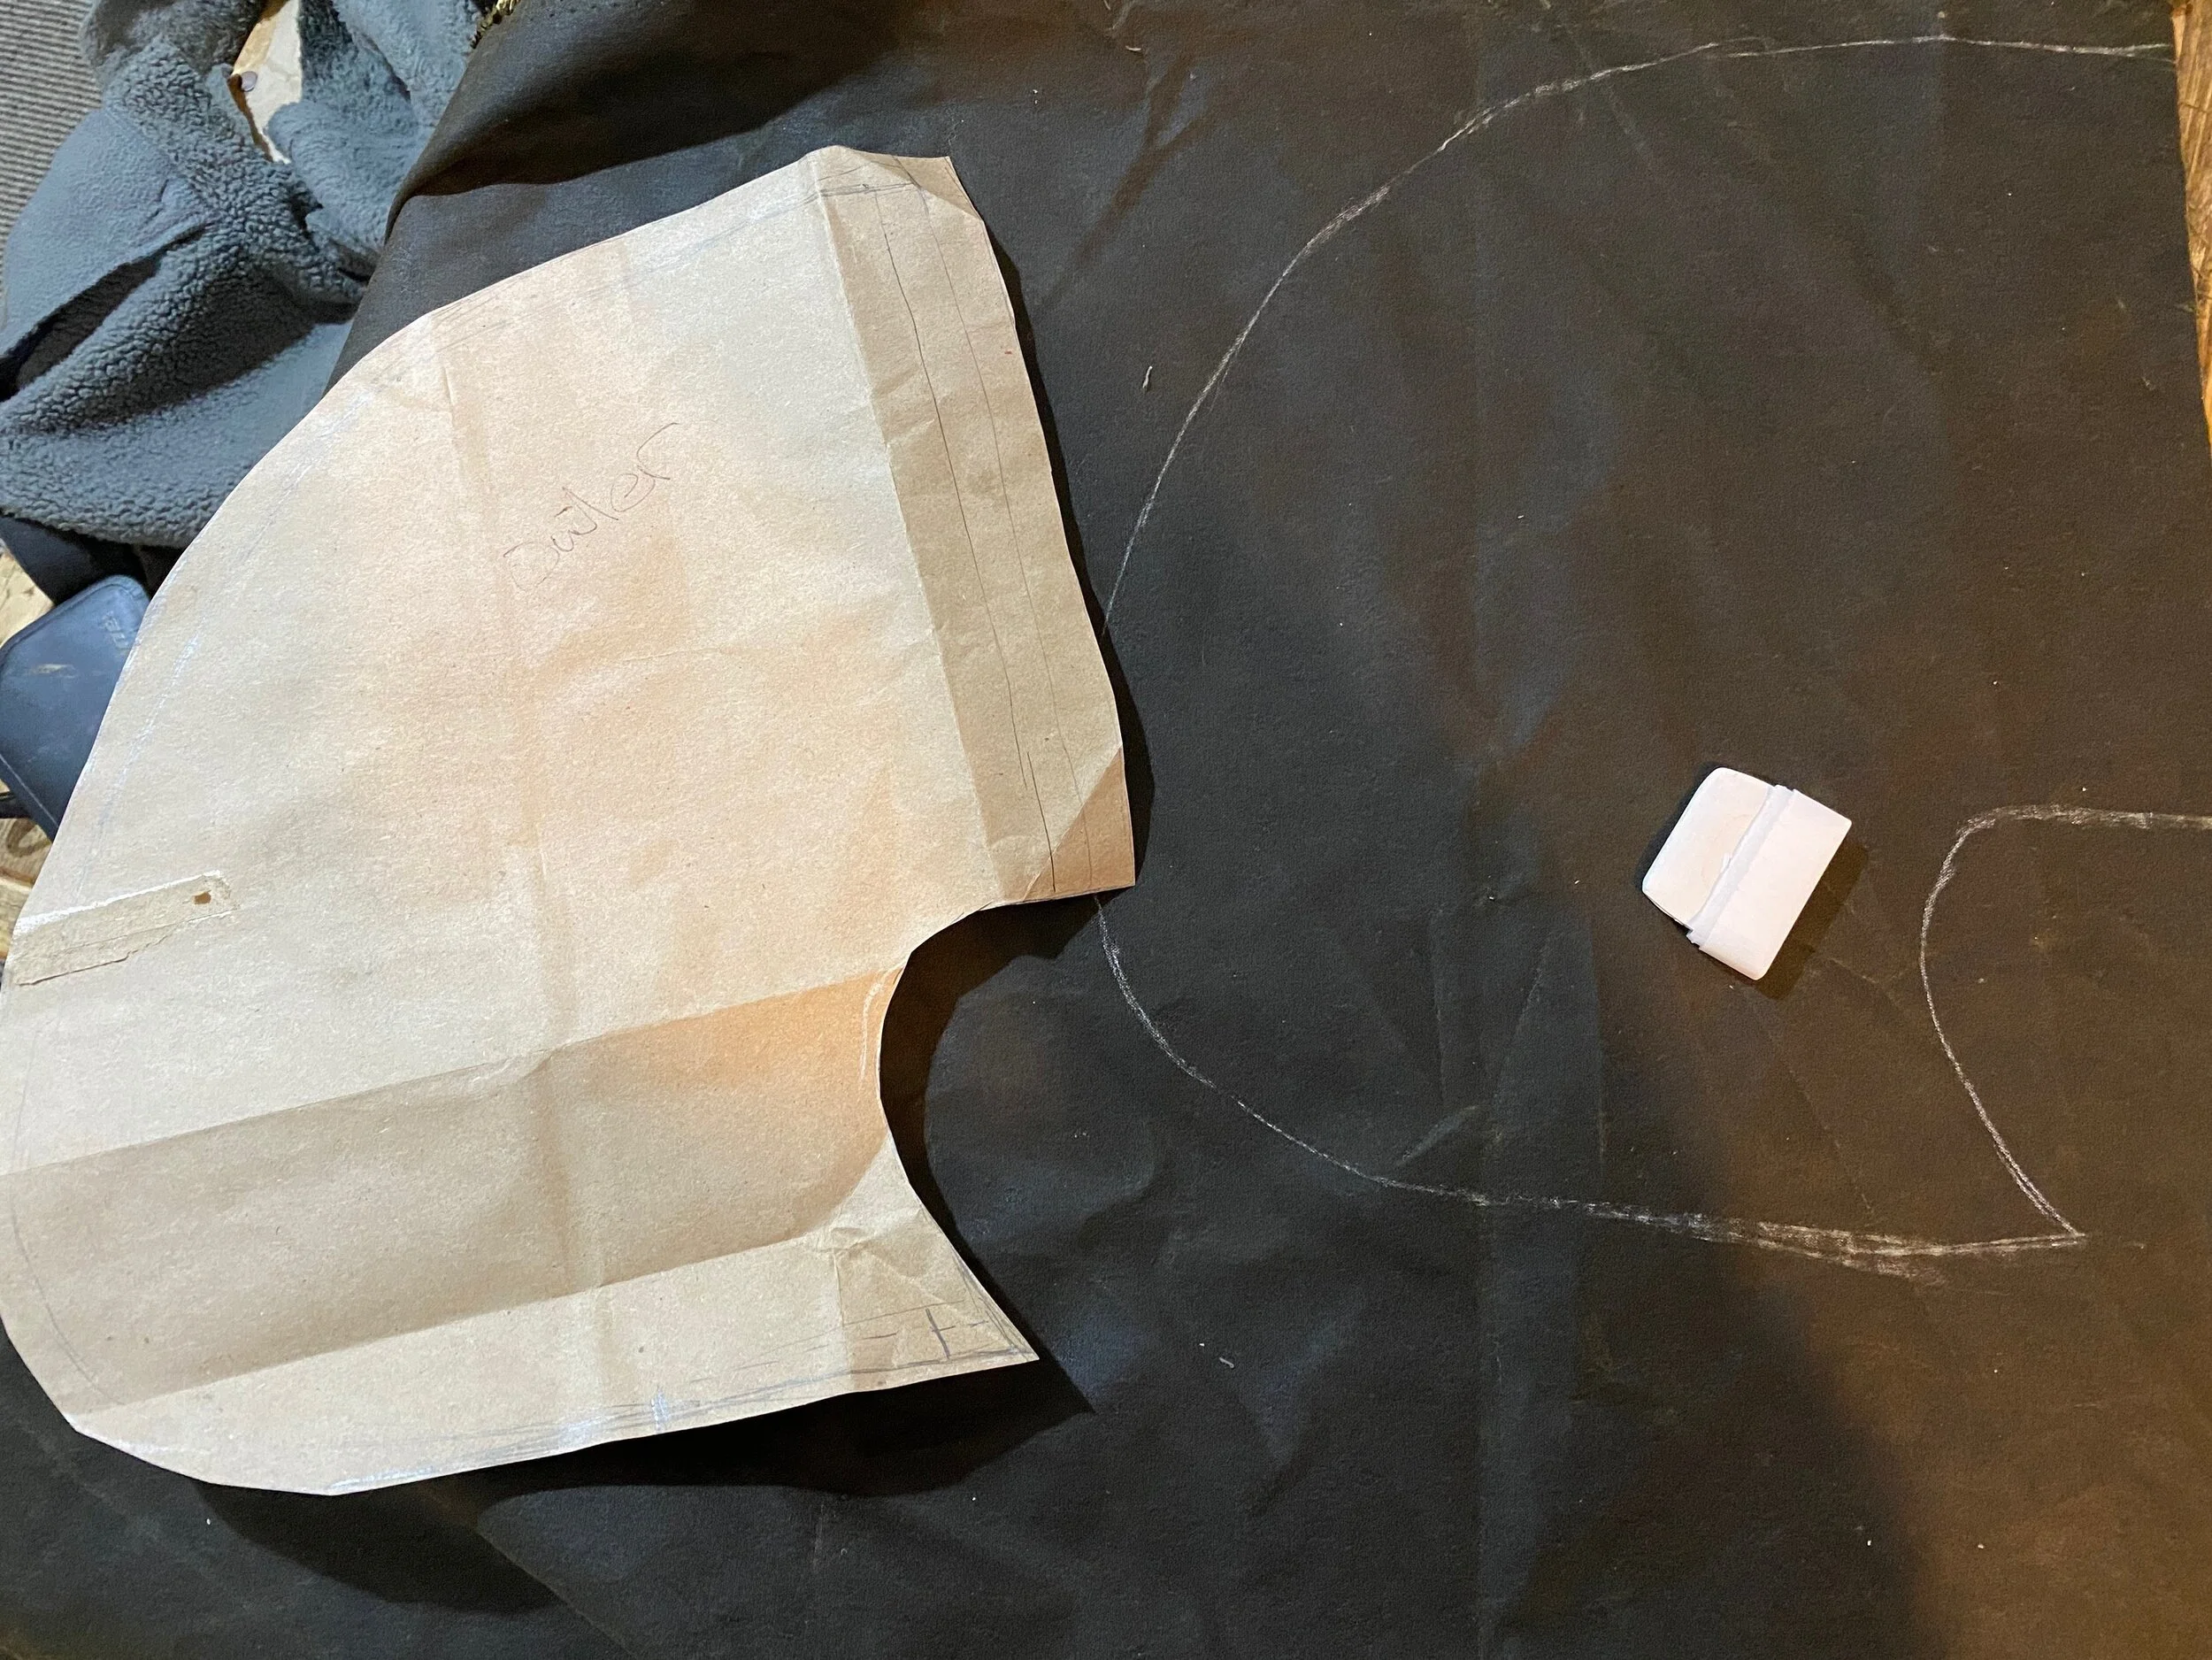
Step 1 - Put a piece of paper next to handle bar and draw a rough outline that looks like a giant cashew. Put it on another piece of paper and trace another one that is slightly bigger. These will become templates of the inner and outer respectively.

Lay the outer template on a piece of waterproof (or at least windproof) material, and chalk out the outline allowing 1cm all the way round and 2cm at the opening, then cut 4 of these out. Here I’ve used waxed cotton for the outer because I have some. Do also mark on the material where the bar hole will be.
Do the same with the inner template on some fleecy material, cut out 4 shapes (I’ve upcycled an old fleece here).

Before sewing the pieces together, reinforce the area where the bar end will go through. On the inner, I sandwiched the fleece edge with a folded strip of the outer and sewed it on (I think this is called a bias tape in sewing lingo). Then, sew round the edge of the pogo inner, leaving the reinforced gap. I’ve also deliberately used the edge of the fleece as the opening for the pogies to minimise sewing…
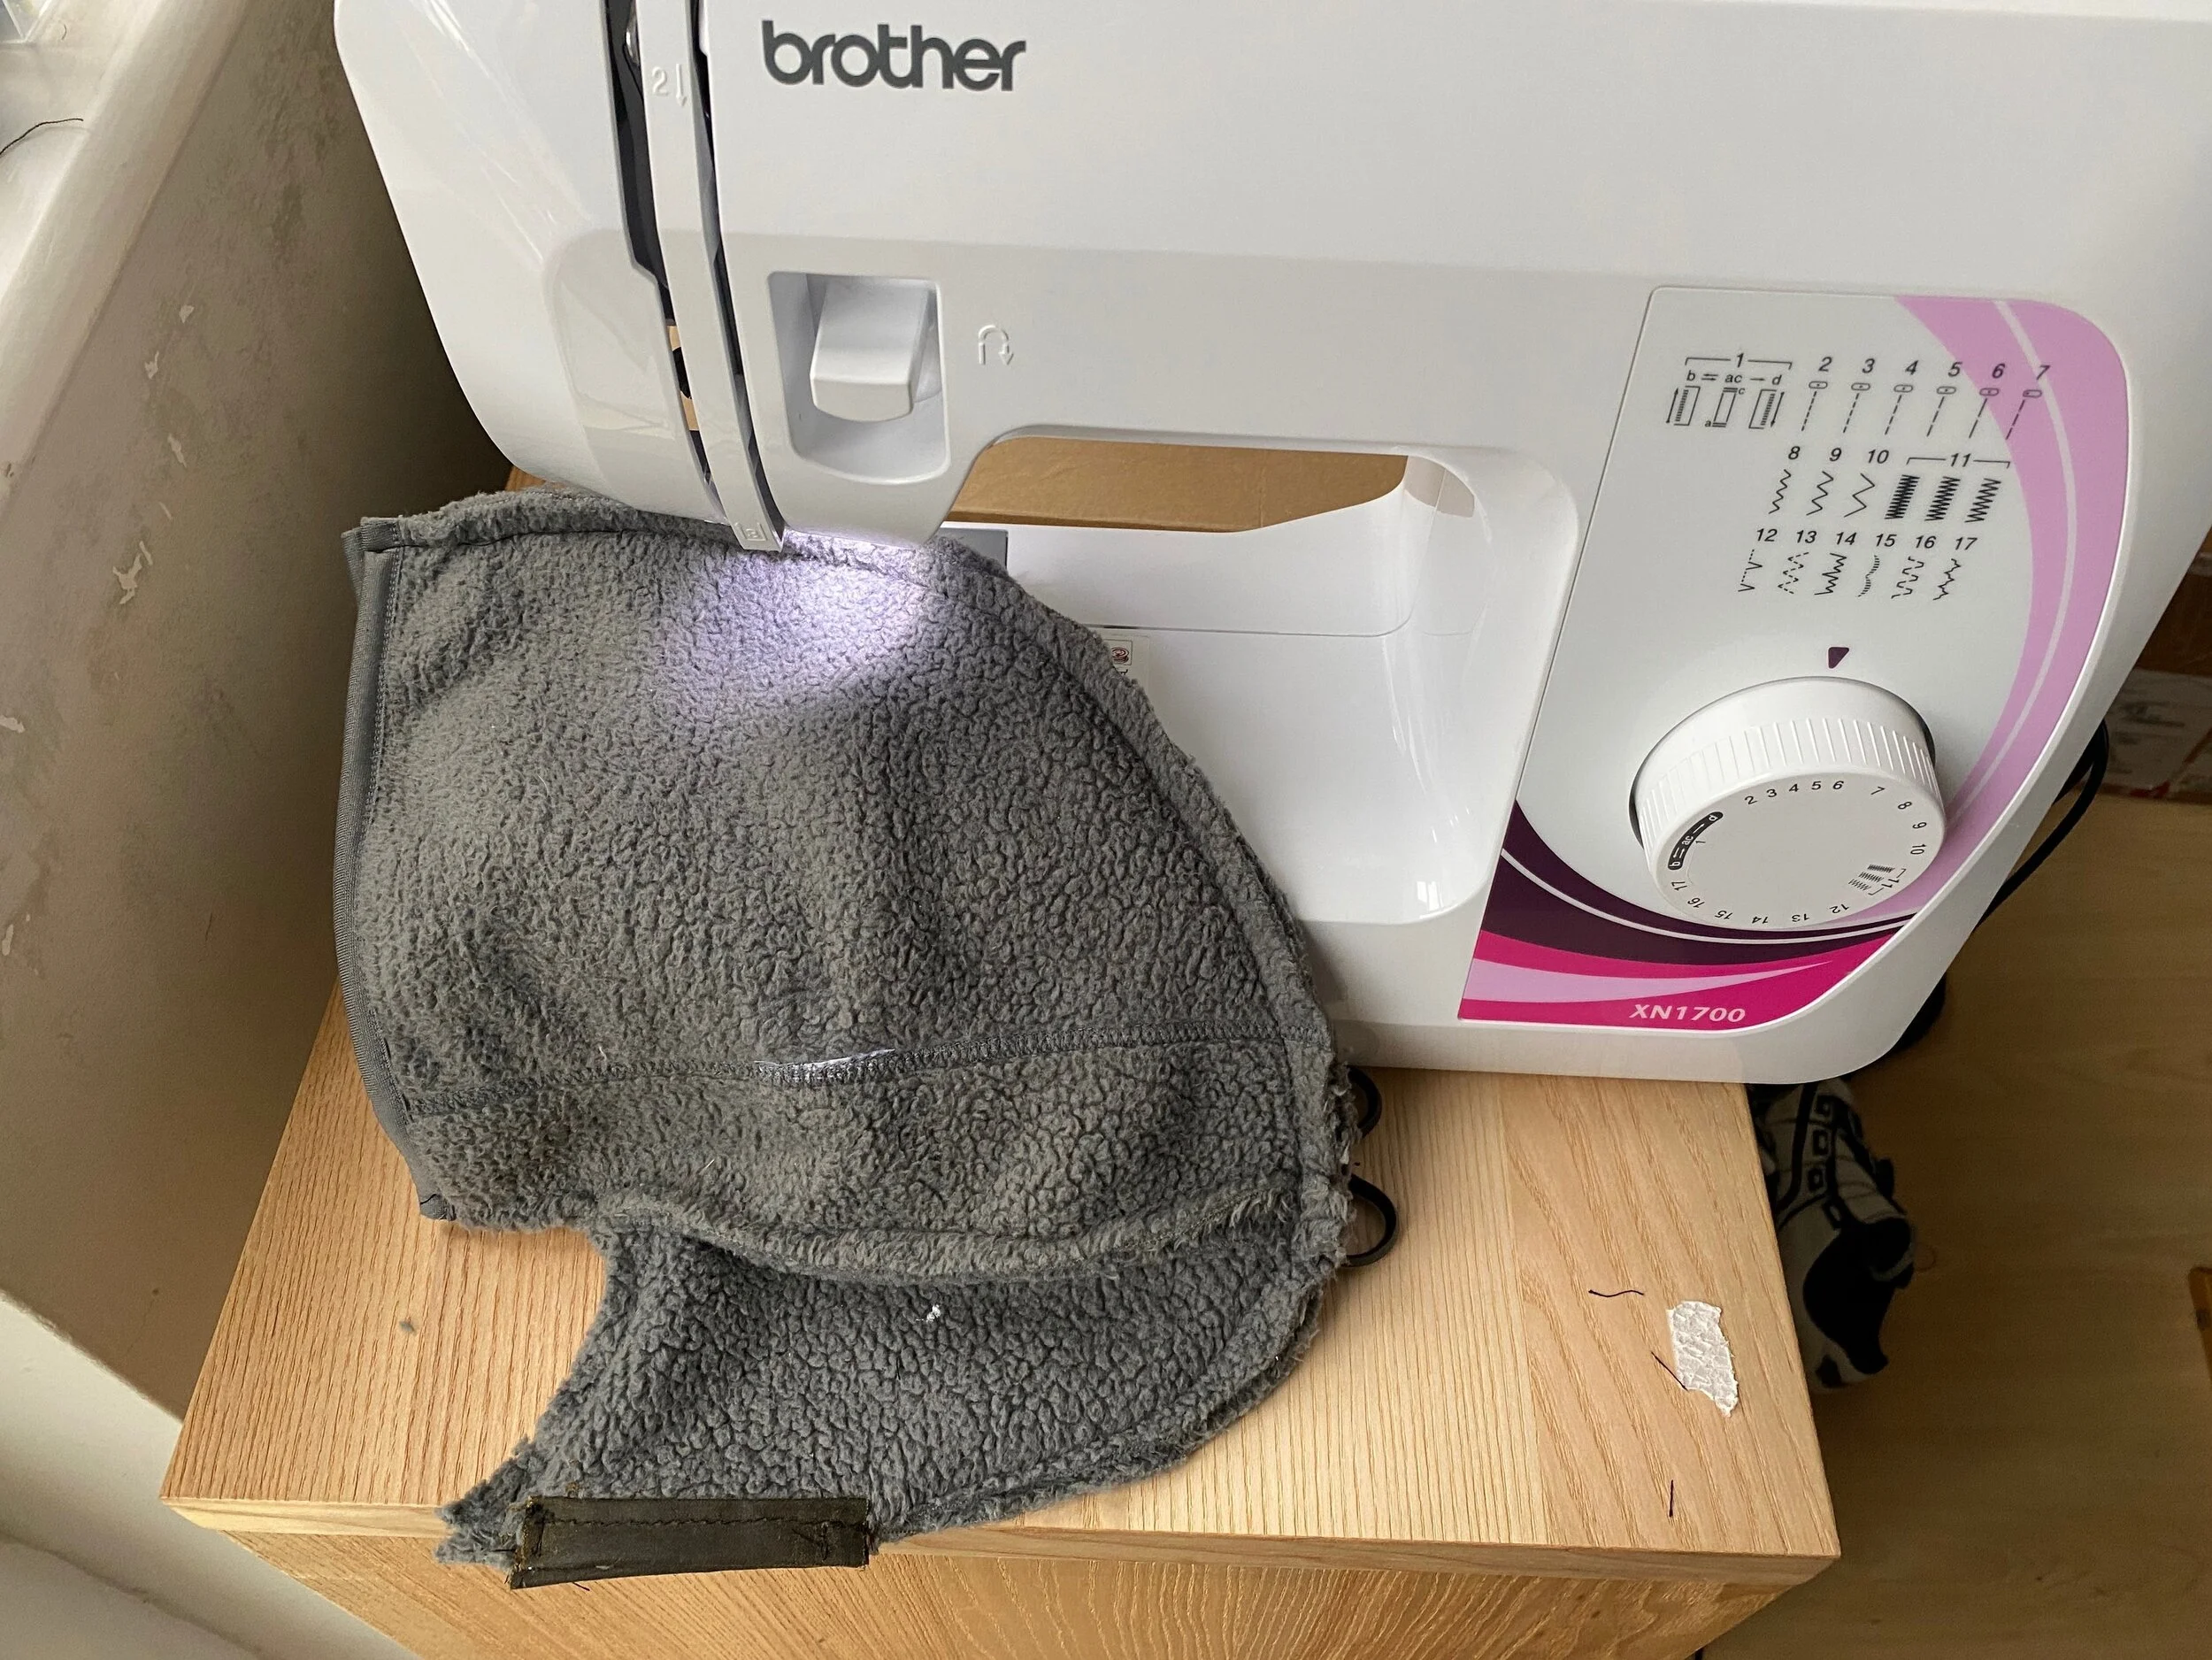
Reinforce the hole where the bar end will go through.
Flip the fleecy inner to right side out and thread through bar end to check for size. Put your hand in to check you have enough room, adjust if necessary. Make the second one.

Check for size
Do the same with the outer with the waterproof / windproof material - fold the edge of the opening for hands in twice and run some stitches along. Reinforce the bar hole, then sew round the edge.


Reinforce bar hole
Flip it right side out and wriggle it over the fleece liner, and presto!


You can also sew the inner and outer together, or use velcro / buttons / magnets / to attach them, but my attention span has run out and I prefer having the option of not using the inner fleece layer and potentially putting usb heated pads inside for sub zero conditions, so I’ve left them as 2-piece modular mitts.

If you come up with a better idea or have made some yourself, do let me know, I’d love to see them. Thank you for reading. I’m fundraising for RNLI this year, your donation will be much appreciated.